
Introducing Lake Country’s New MarineLine Buffing Pads
Experience Superior Marine Detailing with Our Specialized Range At Lake Country, we’re excited to unveil our all-new MarineLine—a comprehensive collection of buffing pads specifically engineered

Paint correction, through compounding / cutting / machine polishing (choose your vernacular) is arguably the ‘focal point’ of the detailing craft. I can’t overstate how important it is to learn about cleaning vehicles properly to begin with (which is something that requires real attention to detail). However, following that up by correcting a dull, tired, scratched, swirly paint job and restoring it to a gleaming perfect finish: well, that always brings me immense satisfaction.
What’s even better is the response from clients. For many years, on handover day at KDS Keltec I would surround their finished car with inspection lights (proving there’s nothing to hide), and invite the client to enter the workshop while insisting they don’t take a sneaky peek at their car until I’ve positioned them in just the right front ¾ viewing spot. I make a joke that it’s a little theatrical, but it ramps up the tension/relief, and adds to the eventual shock…
When I allow them to finally turn round or uncover their eyes, I have a secret bet with myself which particular expletives they’ll use when they see their detailed car for the first time… I won’t repeat the most common ones here (use your imagination) but others would include things like ‘is that really my car?’ ‘it’s like brand new!’ and ‘I don’t want to take it on the road now!’
I know it’s silly. But I want that memory of their first impression to stick, and for that ‘wow’ to be the lasting emotion of the event. For the most part, detailing customers pay to have their cars corrected because they are emotionally invested in their pride and joy, whether it’s about how it represents them, their successes, or their care for their family. And us detailers, we get to be the lucky ones providing that feeling.
It can make you feel like a superhero. And that’s when it can all go wrong.
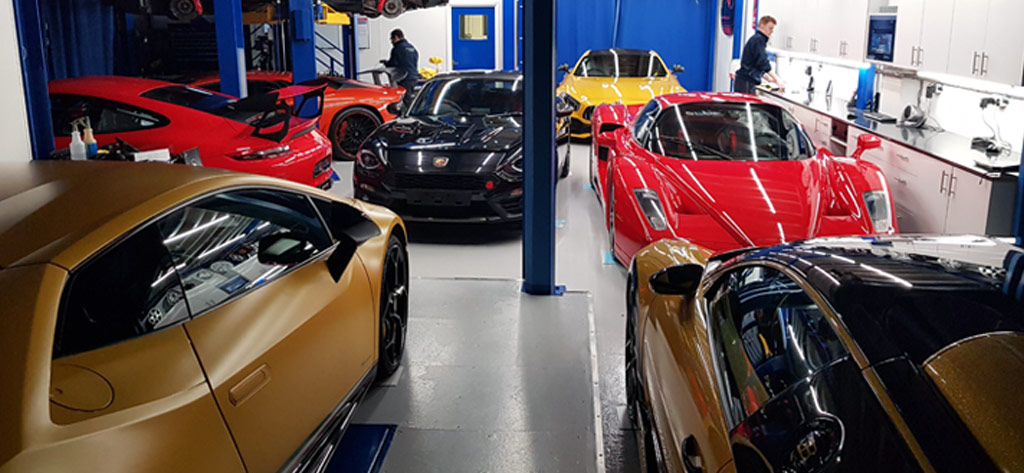
That’s today’s biggest lesson, and it applies to all detailing scenarios – whether you’re polishing cars for a living, or for your own enjoyment. I learned the true value of it during my years at KDS Keltec, where we had our own in-house paint facilities (now part of Lake Country Manufacturing and LC Power Tools). I’ve earned a deep appreciation of the complications and consequences of paintwork, many of which are far from obvious…
While I can’t adequately summarize a three hour lecture into a few key points, if I tried they would include:
In a nutshell: originality is extremely valuable and worth preserving. Paintwork repairs, even ones you might think would be trivial, can cost thousands of dollars. The loss of originality on some cars could cost tens of thousands or more, and irreversibly spoil or taint a cherished vehicle. If you’re doing this for a living, keep in mind that mistakes could have a long-term reputational impact.
Always remember that paint is finite, and treat it with respect.
When correcting a car, you are removing a tiny amount of the clear coat from the surface. If you remove too much, it will eventually cause what’s called a ‘break-through’ when you run out of clear coat and expose the color layer beneath, leaving a satin/matte patch. Unfortunately, once this happens, the only way to fix this is to send the car to a body shop.
Thankfully, everyday minor swirls (no matter how many of them there are) tend to live in the top 1 or 2 microns of the paint surface, and (as Kelly Harris has explained) modern factory clearcoat is typically around 50 microns thick. So long as you’re not being needlessly aggressive, this means that general swirl mark removal is a very safe process.
However, sometimes we need to tackle paint defects, such as scratches, which are deeper than minor swirls. For a better understanding about the layers of automotive paintwork, view the graphic below:
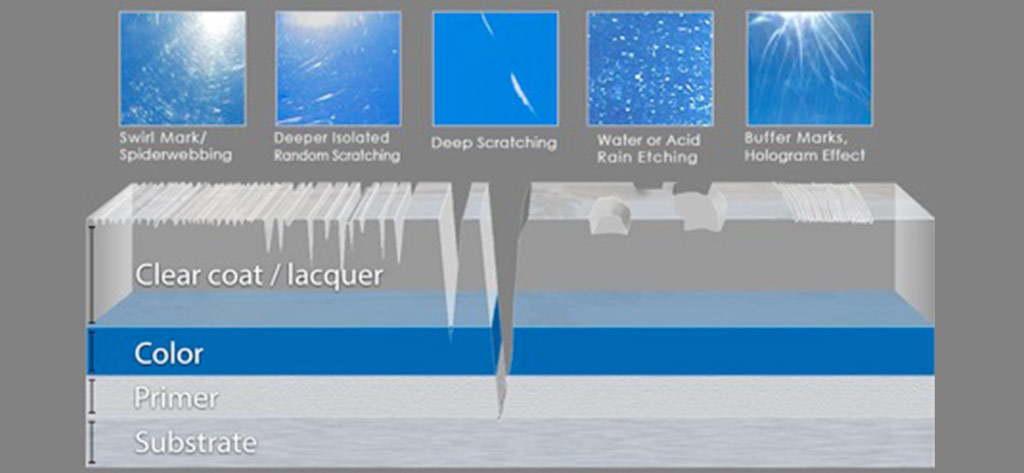
If we’ve got heavier defects to deal with, such as deeper scratches, then we’re going to need to cut more aggressively. That’s when it’s a good idea to take a moment and consider the following:
Unless you’re working on a large, flat area, where you can methodically overlap each movement and have good control over the pressure you’re applying, it can be difficult to ensure you’re polishing each square inch equally on a curved panel.
When tackling concave (inwards) curves, it can be easy to unintentionally polish harder with the outside edges of the pad, while missing the middle. On convex (outwards) curves, the opposite is true because a higher pressure zone occurs in the middle of the pad, resulting in a more aggressive cut. This increases the risk that you’ll remove more material than you intend to with the center of the pad; a major reason why convex curves, swage lines, and other pronounced edges are where we most often see examples of a break-through.
I discuss techniques in avoiding this in another blog: click below to read.
Holding a portable high-intensity LED spotlight at arm’s length from the vehicle’s surface, check all over for any evidence that you’re not the first on the scene… You might see leftover holograms, orbital haze, or even sanding marks. You can fix all these things, but they tell you that someone has already removed some clearcoat – and you don’t know how much, or why!
The client may be able to fill you in on some details, and the age of the vehicle can give you some clues. For example, if it’s a brand new car then any sanding marks and holograms will likely have come from the factory. When you see holograms/buffer lines AND lots of swirls on top, then you know that part of the car was polished (not very well) with a rotary, but perhaps not recently (since it’s had time to get swirl marks again). But can you tell why it was polished? Is it localized or all over? Can you see ‘rounded off’ scratches leftover, suggesting someone already had to buff it pretty heavily? Or might it have just been polished lightly to remove overspray?
If you see any of the following then it’s likely you are looking at a car with one or more repairs…
Take any of these as warning signs that you should err on the side of caution – you’ll potentially need to treat each panel differently, since original and aftermarket paints often have different hardness (density) characteristics.
I realize this is quite a lot to take in, but don’t be put off – experience comes in due time. Eventually, you’ll know exactly where the most common repairs can be found and what the usual tell-tale signs are. Be sure to subscribe to our YouTube channel where we’ll gradually cover more and more on these topics.
As a way of testing yourself, wait until you’ve inspected and assessed the car visually before you start taking paint thickness readings. Paint repairs usually go on top of some of the original paint material, so large and sudden jumps in thickness – especially if it’s different when you compare panels from one side of the car to the other – can be a good indicator that more paint has been applied, and perhaps will confirm whether your instincts were correct.
Bear in mind though that some repairs require brand new panels, so you may have to look harder to discover the whole story.
NOTE: plastic/carbon panels won’t be readable with a basic paint thickness gauge.
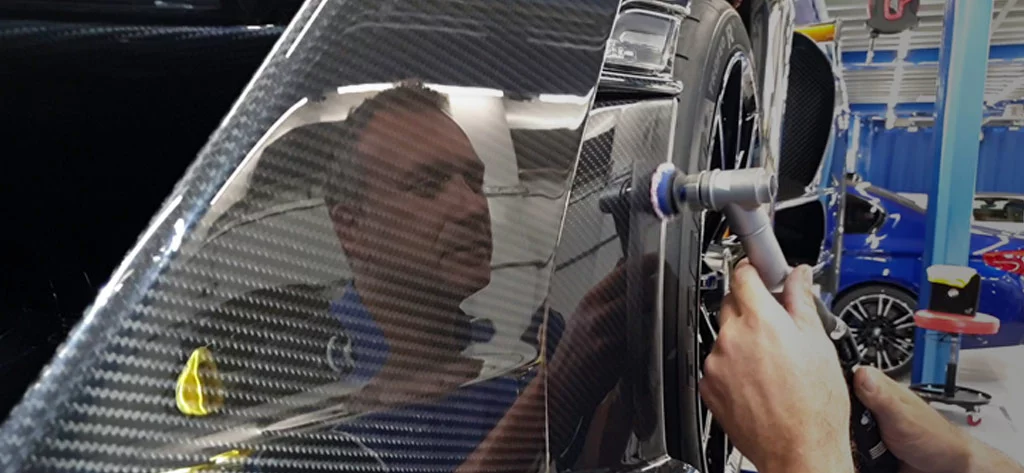
Most paint thickness gauges also do not measure individual layers of paint. Those that do are tricky to use, and you really need a professional understanding of the paintwork process to accurately interpret them.
In this month’s blog, I’m referring to the more basic gauges, which measure a total thickness – the distance from the end of the probe to the start of the metal substrate. These gauges can’t tell you how thick the clearcoat is or how much you have left, but they can tell you how much material you’re removing, and they aren’t hugely expensive. So, why not try Kelly’s laser pen test for yourself? Once you get a reliable feel for how much paint you’re removing with each pass, as long as you work methodically, you can proceed with much greater confidence.
Because there is no way to be sure if a scratch is 5, 10, or 20 microns deep just by looking at it, and because it is not possible to remove scratches that are deeper than the clear coat, a good rule of thumb is: if you can catch a scratch with your thumbnail or fingernail, then you should not expect to be able to remove it fully.
Some scrapes and scratches are obviously a lost cause as far as ‘buffing out’ is concerned (despite what all the ‘that will buff out’ memes say). But sometimes what looks like a really deep scratch at first can be an illusion; the jagged and torn inner edges of a scratch can create a frosted look in the lacquer, appearing almost white (as though it’s through to the primer underneath).
In these cases, you’ll be able to ‘round off’ the worst of the visual effect and make a massive improvement. Our Lake Country microfiber pads are especially good at minimizing the look of deeper scratches thanks to the fibers that work their way in, out, and along the edge, smoothing it to leave a near-invisible faint ‘imprint’ instead – which looks a whole lot better than a glaring white gouge.
Even so: after a few heavy passes with a cutting stage pad and compound you could be approaching that 8-10 micron mark, where deeper scratches need to be re-evaluated within the context of the job, the condition of the car to begin with, and the client’s wishes.
The rule ‘don’t be a hero’ is so important because, as tempting as it is to keep chasing a perfectly removed scratch, beyond a certain point it’s like playing ‘Bucakaroo’. Unless your customer is prepared for a re-paint (and all the potential complications that that can entail), you’ve got to know when enough is enough.

I hope this has helped you to understand a little more about the machine polishing / correction process, and to realize that it is okay not to expect, or chase after, a perfect outcome.
Instead, recognizing the risks associated with tackling heavy defects, and being able to use your knowledge and expertise to communicate them to your clients so that they do not feel disappointed with the outcome is an important way to avoid making a big mistake.
Since this is the last blog of the year, all that’s left is for me to wish everyone a Merry Christmas, Happy New Year, and don’t forget to subscribe to our social media channels to continue to learn from the pros in 2022!
Jay B

Experience Superior Marine Detailing with Our Specialized Range At Lake Country, we’re excited to unveil our all-new MarineLine—a comprehensive collection of buffing pads specifically engineered

Written for the IDA Detail Dialogue, Published December 2022 In detailing, we naturally obsess over tiny details – hence the name, I suppose. A smudge,

Polishing glass ranks as one of the most overlooked detailing skills and services. Aside from being aesthetically pleasing to have pure transparent glass, it’s incredibly

Experience Superior Marine Detailing with Our Specialized Range At Lake Country, we’re excited to unveil our all-new MarineLine—a comprehensive collection of buffing pads specifically engineered

Written for the IDA Detail Dialogue, Published December 2022 In detailing, we naturally obsess over tiny details – hence the name, I suppose. A smudge,
950 Blue Ribbon Cir N
Oconomowoc, WI 53066
#lakecountrymfg
Select Your Language