Introducing Lake Country’s New MarineLine Buffing Pads
Experience Superior Marine Detailing with Our Specialized Range At Lake Country, we’re excited to unveil our all-new MarineLine—a comprehensive collection of buffing pads specifically engineered

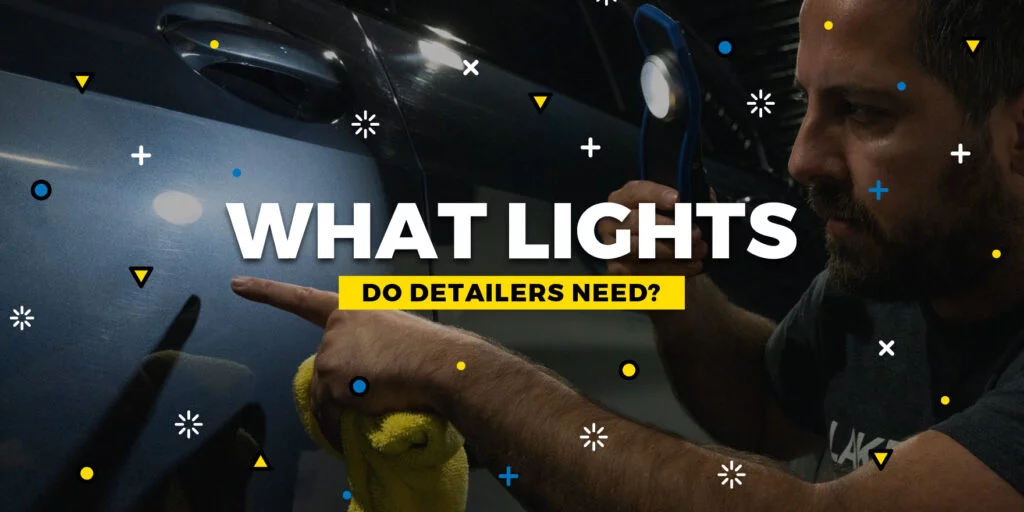
In our workshop we have over 200 light sources (both fixed and portable) – but they are not all the same, and we use different kinds of lights for different purposes. In this month’s blog we’ll talk about what lighting we use, how we use it, when, and why.
Let’s gloss over the history lesson, it’s 2022 after all. Thanks to advances in LED technology, we now have many modern, cost effective, and efficient detailing lighting options that were not available in the days of halogen and fluorescent lamps. It’s a bonus that we can arrange these lights in attractive patterns for Instagram, but I want to focus on their practical purposes (and, in particular, the ways that correct lighting can help detailers achieve better results).
Without specialist lighting, we are working blind. If we take a swirly/dull/scratched used car, and we carry out a basic enhancement process (without specialist lighting) to increase the gloss – let’s say a single pass with a finishing foam and a gentle polish, or all-in-one product – then ‘Average Joe’ walking past the car on the street, especially on an overcast day, will be able to see a big improvement, and have a big smile on his face. We know that much of the improvement will be from the fillers in the product, but don’t get me wrong: there is a perfectly decent, honest market for that kind of quick and cheap service. However, if we want to ‘get good’ and truly remove those defects permanently, we need to look closer…
Detailing lights reveal flaws and defects (well, most do, but we’ll come back to this later) so it should be self-evident that we need them to highlight the surface flaws that we’re working to remove. This is how we check on our progress and show the transformative results.
But, detailing lights reveal more and, in doing so, they set the bar for correction higher. Now, our primary goal as detailers buffing a car is to improve the appearance of paint flaws, so perhaps it seems counter-intuitive to deploy the ultra-scrutiny of specialist detailing lights; if we can achieve ‘good-enough’ results (for ‘Average Joe’ at least) without looking too closely, what’s the point? I’ve had first-hand experience of pro detailers shying away from letting inspection lights anywhere near their work, precisely because it makes the results look average. In their view, “why would we intentionally make our lives more difficult, when under most circumstances our clients (such as ‘Average Joe’) are unlikely to be so critical or replicate those conditions themselves?”… right?
Wrong. For at least two reasons.
Firstly, that big ol’ yellow thing in the sky is one heck of a detailing light, with the added kick of being able to degrade any compound oils and fillers too. Like a giant spotlight in the sky (which also moves around to the sides during mornings and evenings), the sun can reveal remaining flaws in the paintwork that you might have missed (or hoped to get away with). Garages and workshops are naturally quite dark places, so having detailing lights on hand – especially portable ones that allow you to check vehicles from multiple angles – are a key tool in assessing our work. Just as importantly, something I learned many moons ago is that what may look good indoors in the workshop could look TERRIBLE the moment the car goes out into daylight. As much as I’m about to explain and demonstrate why it’s important to use specialist detailing lights when you’re polishing a car, the fact is that their bright reflections can also distract you from obvious errors such as compound build-up in edges, ceramic coating high spots and more. So, as well as using many detailing lights from start to end, at our workshop we double-check our completed correction details by talking a walk around the car outside before calling it ‘finished’.
Another thing to bear in mind, particularly if you’re taking on paid paint correction work, is that you never know which clients actually ARE able to replicate your dazzling studio conditions. It doesn’t happen often (in my experience) but remember ‘Average Joe’ isn’t usually paying for your top-dollar correction services, and there are detailing fans out there with their own inspection lights at home, impressive garages that look like studios, and an extremely keen eye for detail. If you give them back their car and they spot something that you missed… that’s not a good look.
There are three dominant styles of lights that detailers use today: spot, strip, and square. Each style/shape has its benefits and drawbacks. The thing to understand about lighting is that all of these light sources can be used to either highlight or hide paint flaws – which may sound counter-intuitive, but hear me out…
https://youtu.be/5b7gV0j1WAY
https://youtu.be/plnus2ve364
https://youtu.be/6M_4DsVWEY8What’s more, some defects even require the right light at the right angle to see properly, and this is why chasing perfection can be such a challenge. Before joining Lake Country Manufacturing, Kelly and I posted a video about exactly this subject which is extremely illuminating. https://youtu.be/GQoJQW0-jME
In practice, spotlights are the main go-to in our detailing workshop. They highlight the most common (popular?!) kinds of defects that our clients have noticed (swirls/holograms), making handheld detailing spotlights the most useful defect detection tool under most circumstances. Our recommendation would be to hold or position your handheld detailing spotlight at least an arm’s length from the paint surface in order to reveal as much as possible, without making it difficult for your eyes to adjust to the extreme brightness. Moving the light around often reveals defects that can be easily missed by a static light source, and having that motion is especially helpful when pointing out rotary holograms, which appear to dance and sway on the paint surface as the light source moves around. Spot lights will also, of course, show up your own leftovers. What I mean by that is they will show any haze or dullness caused by your polishing efforts. To counter this, and reach a pure gloss that looks great even under spotlight scrutiny, the chances are you’re going to need to spend longer refining your polishing and/or use a softer finishing pad (with an even finer polish). This might mean you’re doing an extra stage at the end; or, it might mean simply replacing your old style of polishing stage with this finer one. I’ve found that my favorite polishing pads (such as our Black HDO Foam or Black or Red Force foam pads) can actually remove quite a heavy microfiber cutting haze, and refine all the way to perfection, all in one go. Give it a try.
Strip lights have a different set of uses altogether. Their advantage is their straight-edge which, in reflections, will demonstrate where the paint surface is anything other than dead flat. Surface imperfections such as orange-peel, clearcoat runs, silicone fish-eyes, sinkage and dents will distort the straight-edge of the light in a reflection. That’s why it’s helpful to mount strip lights above the vehicle you’re working on, but even better to have them alongside too. Thanks to strip lights, being able to demonstrate a clear and often surprising change in surface texture quality – whether that be the immense ‘smoothing’ effect of sinkage removal which can be achieved with a simple cutting stage, or the more extraordinary glass-like reflections you can create by sanding and polishing to remove orange-peel – is a ‘next-level’ way of creating an impressive paintwork finish in ways many people wouldn’t even realize is possible, proving your expertise as a detailer.
Finally we come to square lights, which photographers adore for their diffused glowing ambience. Commonly grouped together in the ceiling – as seen at many professional detailing ‘studios’ worldwide – these gentle lighting panels seem to drape vehicles with a specular quality that almost looks like something from a video game. Without singular points of origin, banks of square lights illuminate the contours and curves of bodywork making them seem delicately enhanced, with subtle highlights and shadows falling in ways that really show off the lines and shapes of the car beneath. These lights are, however, utterly useless for detailing purposes. When you see the reflection of a square light panel on a car’s surface, it has the effect of neutralizing / hiding the surface flaws on that area of the panel. Instead of the surface flaws, you see a ‘white-out’ zone where anything but the most major scratches and chips all but vanish. This is why square light panels are a very poor choice of detailing light. And yet, we have them in our workshop….. but why?
Speaking from personal experience, we have a zone near the entrance of our workshop where a range of spot lights, strip lamps and square panels are mounted around a car. Each type of light is wired up separately on a remote clicker, meaning I can turn them on and off instantly, and I have used this to educate countless pupils and customers of their effects. It never fails to amaze people when I light their car up under the square lights, making them look artificially quite good, and then suddenly switch to the spotlights. If only I could capture the look on their faces when the true horror of a million swirls and scratches and etchings and other problems ‘magically’ appear. I compound this by changing from spot lights to strip lamps, and now rather than the swirls we’re faced with ripples of orange-peel, and texture of sinkage… It is a stunning ‘party-trick’ routine that never fails to impress my customers with its visual impact, but it also leaves them appreciating the fact that they are now better informed, and more confident in my knowledge and abilities as a detailing professional.
https://youtu.be/XPProi7_ZFo
This brings us to the final and most important point of this rather long blog. Detailing lights are not just necessary for effectively detecting and highlighting defects. As much as we use them in our workshop to point out surface flaws and check on our progress, they prove equally as useful on handover day when they are brought out to highlight the absence of defects. Whether you’re polishing cars for yourself or clients, being able to confidently inspect or present your work under critical detailing lights is like a slam dunk, a home run, and a mic-drop all in one. It’s a bold move that demonstrates irrefutable proof of your skills, the value in your work, and the integrity in your services.
Specialist detailing lights add value to what we do, because with them we are better able…
To learn more about paint correction, please stay tuned to our social media channels and feel free to email us with any questions. We may even address yours specifically in a video response!
Until next time,
Jay @ LC
IG: /jaybroomdetailing
FB: /jay.broom.detailing
FB group: Detailing with Lake Country

Experience Superior Marine Detailing with Our Specialized Range At Lake Country, we’re excited to unveil our all-new MarineLine—a comprehensive collection of buffing pads specifically engineered

Written for the IDA Detail Dialogue, Published December 2022 In detailing, we naturally obsess over tiny details – hence the name, I suppose. A smudge,

Polishing glass ranks as one of the most overlooked detailing skills and services. Aside from being aesthetically pleasing to have pure transparent glass, it’s incredibly

Experience Superior Marine Detailing with Our Specialized Range At Lake Country, we’re excited to unveil our all-new MarineLine—a comprehensive collection of buffing pads specifically engineered

Written for the IDA Detail Dialogue, Published December 2022 In detailing, we naturally obsess over tiny details – hence the name, I suppose. A smudge,
950 Blue Ribbon Cir N
Oconomowoc, WI 53066
#lakecountrymfg
Select Your Language