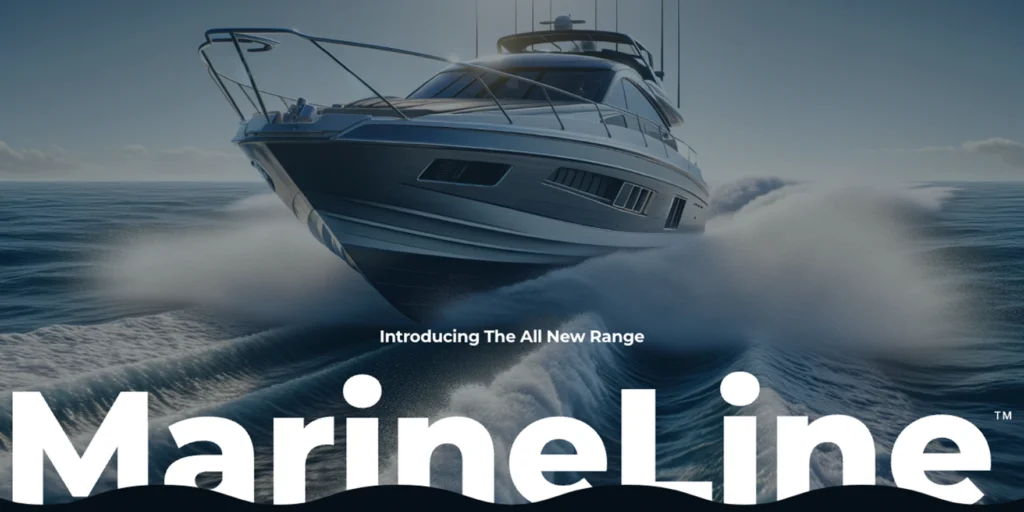
Introducing Lake Country’s New MarineLine Buffing Pads
Experience Superior Marine Detailing with Our Specialized Range At Lake Country, we’re excited to unveil our all-new MarineLine—a comprehensive collection of buffing pads specifically engineered
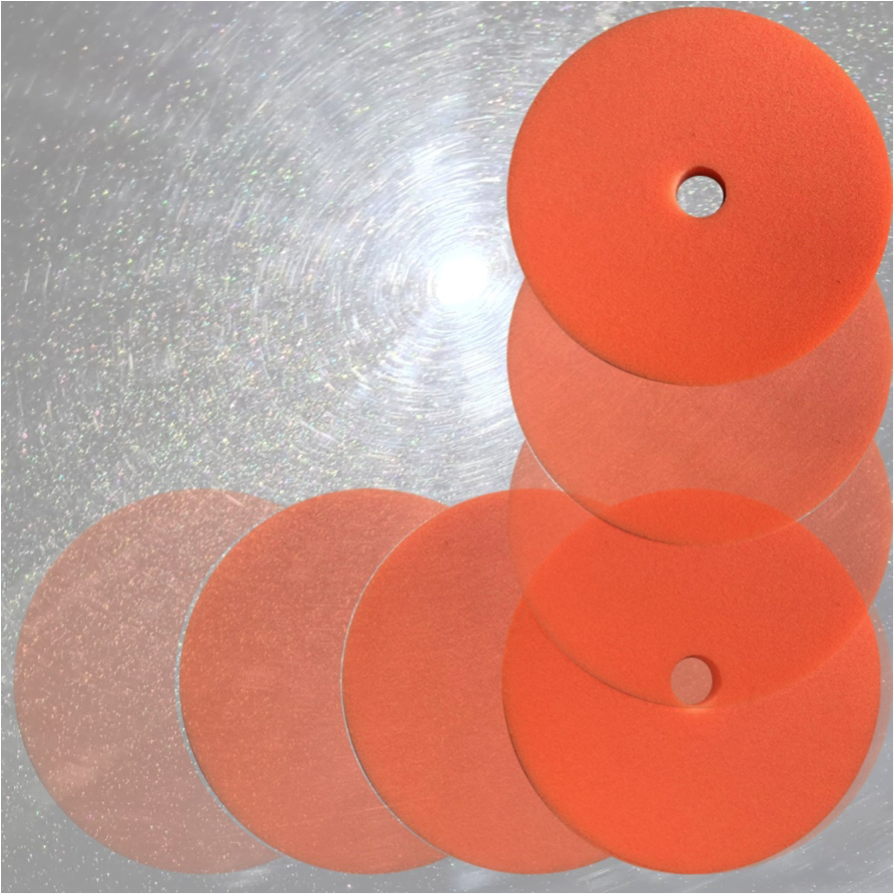
Experience Superior Marine Detailing with Our Specialized Range At Lake Country, we’re excited to unveil our all-new MarineLine—a comprehensive collection of buffing pads specifically engineered
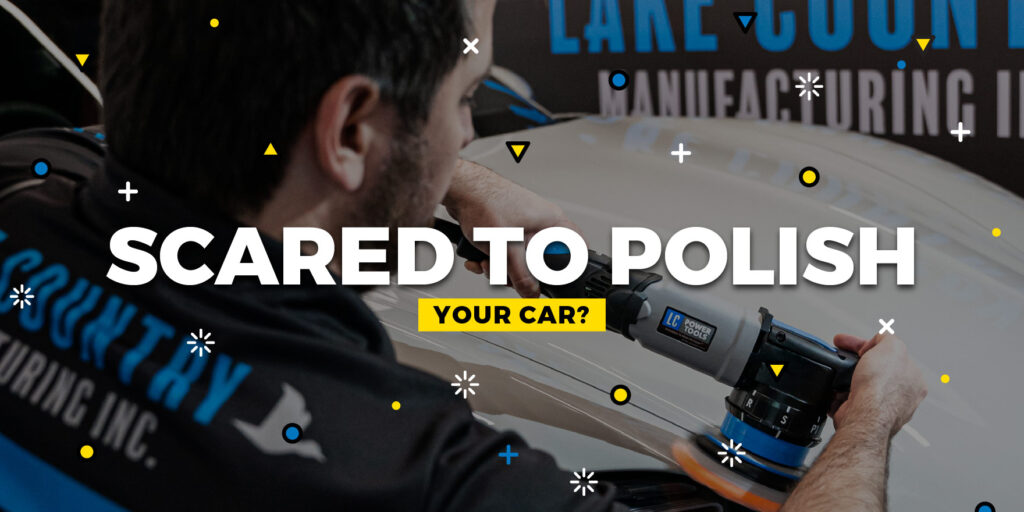
Written for the IDA Detail Dialogue, Published December 2022 In detailing, we naturally obsess over tiny details – hence the name, I suppose. A smudge,
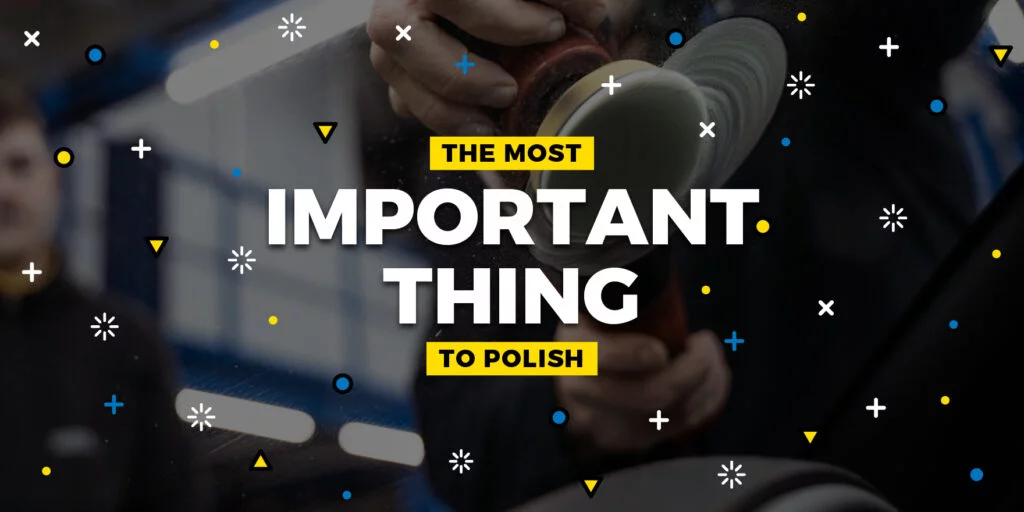
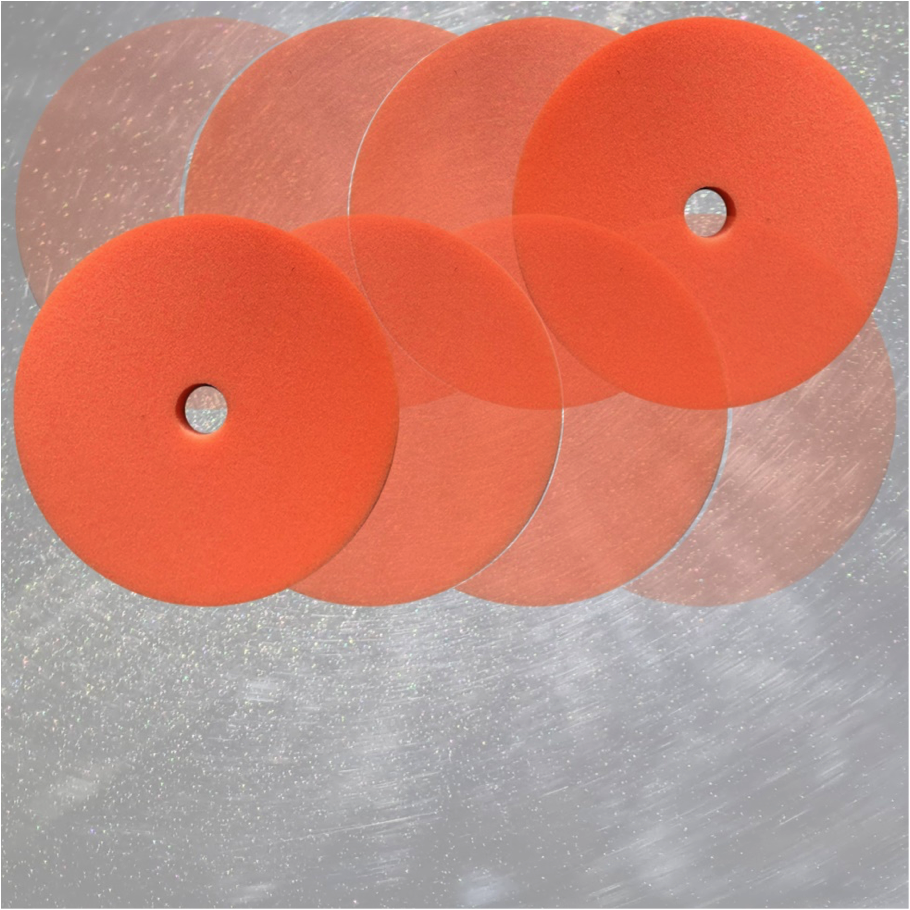
Polishing glass ranks as one of the most overlooked detailing skills and services. Aside from being aesthetically pleasing to have pure transparent glass, it’s incredibly
Experience Superior Marine Detailing with Our Specialized Range At Lake Country, we’re excited to unveil our all-new MarineLine—a comprehensive collection of buffing pads specifically engineered
Written for the IDA Detail Dialogue, Published December 2022 In detailing, we naturally obsess over tiny details – hence the name, I suppose. A smudge,